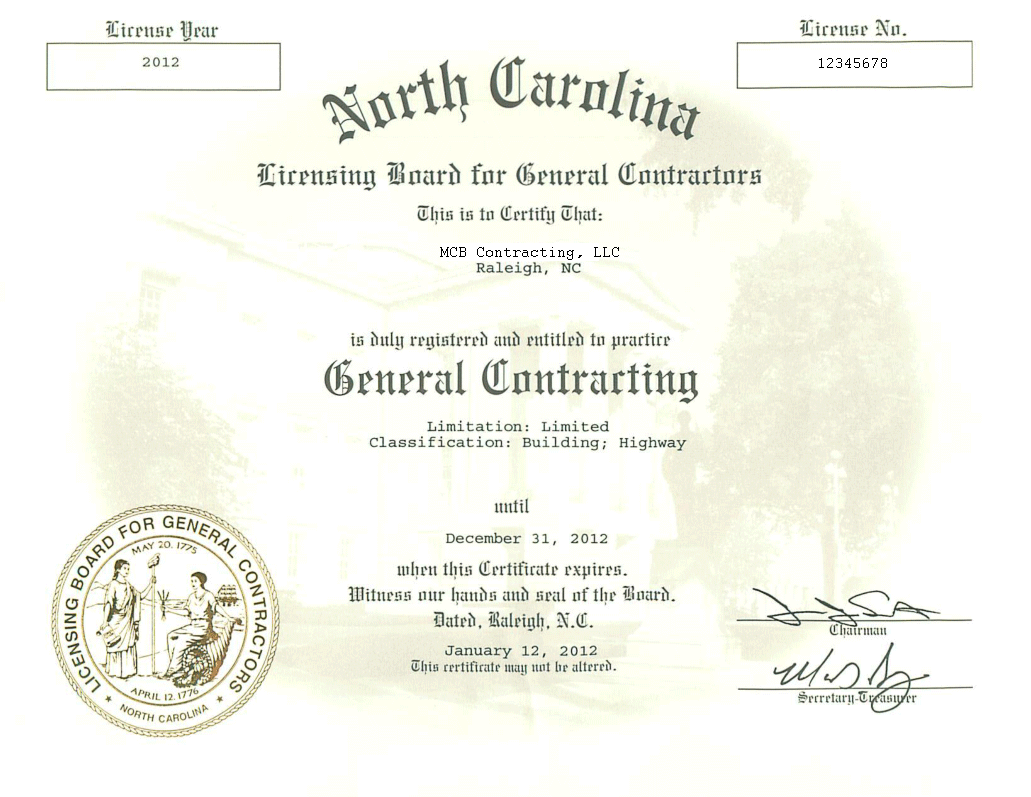
A handyman Austin can prevent you from having major expenses in the future by repairing your home before it becomes irreparable. It is possible to endanger your property or your health by ignoring any issues related to your house. Handyman Austin will inspect the various systems and components of your home and help you decide if it needs major repair. There are many components and applications in every home that could pose a danger if not addressed. If you see signs of major repairs, it is a good idea to call Austin handyman.
Ace Handyman West Austin
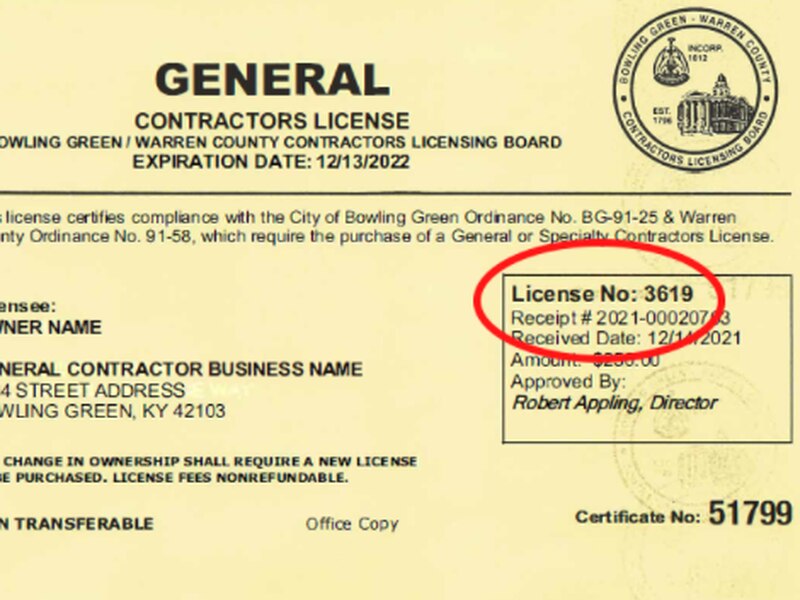
Ace Handyman West Austin is the right place to call if you need a handyman to assist you with your home projects. The Environmental Protection Agency (EPA) has licensed Ace Handyman of West Austin, Texas. Their score on BuildZoom is 90, which means they are licensed. This handyman is recommended for you to read customer reviews and see how they were rated.
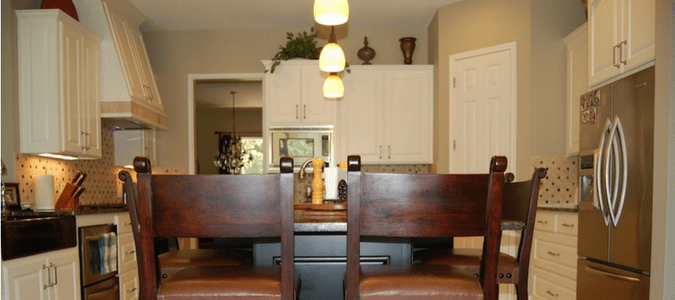
Ace Handyman of West Austin offers professional handyman services that will make renovations and repairs easy. They can do simple home repairs or more complicated renovations. The work is completed by highly skilled workers who will meet all your deadlines. Ace Handyman West Austin understands that you may not have the time or ability to complete all these projects. However, Ace Handyman West Austin is here to assist you with any home improvement project.
Mr. Done Right Handyman
If you need handyman service in Austin, TX, then Mr. Done Right can be your best option. This company specializes is home repairs. They are known for their quality work, punctuality, professionalism, and customer satisfaction. Austin residents and businesses can turn to them for any residential, commercial or industrial job. You can get a free quote for any service from Mr. Done Right by calling 512-966-6535.
Painting is one of the many services that a Handyman Austin contractor can offer. Mr. Done Right contractor can do everything from minor dings to replacing damaged sheetrock. He can hang entire rooms or texture wallboard. His painting services include exterior painting, siding and trim. He can also repair and refinish iron, wood, and vinyl fences.
Don Fenton is the owner of Mr. Done Right Handyman Austin. His vast experience in home repairs and construction has earned Don a solid reputation. Don values each job as if it were his own. Because he has an Engineering background, Don ensures that every project meets high construction standards. Mr. Done Right is the right choice.
FAQ
Are handymen insured?
Yes! Most insurance companies cover liability claims up to $1 million for accidental property damage and bodily injury. This means that if something goes wrong during the course of the project, your insurance company will generally compensate you for the damages caused.
Who will complete my handyman work?
You won't find a cheaper price for a local handyman if you're looking to have a job done quickly, such as fixing a leaky faucet or replacing a lightbulb. You might also consider hiring a handyman to do multiple jobs such as installing floor tiles or repairing your roof.
Handyman Services can provide ongoing support for those in need, including maintenance.
Should I pay a handyman by the hour or per-project basis?
It really comes down to personal preference. Some prefer to pay their handyman by the hour. This allows them to see exactly what they charge. Some prefer to pay for each project, even though they may be doing multiple jobs at once. Either way, it's fine.
Statistics
- Our handyman services for seniors are provided by professional senior helpers who have been serving the community for over 20 years with 98% customer satisfaction. (cantatahomeservices.org)
- “Before the pandemic, 40% of people asked how we could estimate a job when we weren't there,” Rose recalled. (inquirer.com)
- “Once the pandemic hit, that number fell to about 20%.” (inquirer.com)
- Mila keeps a commission of 20% for each completed service performed by Friends and charges various service fees regarding work done by Pros. (appjobs.com)
- With a strong housing market, the handyman and general maintenance worker industry are expected to grow by nearly 10% in the next decade. (housecallpro.com)
External Links
How To
How to Install an Receptacle Box
When installing any type of electrical outlet, you should always follow the guidelines your local building inspector set forth. This includes ensuring that your wiring is properly installed, as well as avoiding any problems related to water damage and fire hazards.
Four wires are coming from the circuit breaker panel. Most boxes come prewired for installation. The two black wires lead to the box's first screw. The red, white, and blue wires go to its second screw. When connecting wires together, you must ensure that the wire nuts and wire wraps are not used. If this happens, you will probably have trouble getting the wires to stay in place after they are tightened down. You want to keep them loose enough to move freely but tight enough so they won't pull out of their respective holes.
If you want to add receptacle to an already existing box, you might need to consider adding another piece of hardware. This task involves removing the metal top from the box and adding a new cover. After you have made the hole for your new receptacle, and attached the coverplate, you will need to connect all wires to your new receptacle.
It is possible to replace existing light switches in your house with modern ones without the need for a licensed electrician. The first step is to take the old switch out of its mounting spot. Then, disconnect all wires connecting to the switch. These wires are the ones that supply power to the switch as well as the ones that supply electricity for the lights in the area where it is located. Now you are ready to start the replacement process.
After removing the switch, measure the distance to the wall and mark the location with a permanent marking pen. Once you have measured the distance between wall studs and marked them with permanent markers, you can determine whether the new switch must be mounted high above the floor or below it. Depending on the height of your switch, drill a hole for the mounting bracket. Or attach the switch directly using drywall anchors.
Once the measurements have been taken and the locations marked up, you can start the project. You will need to remove the drywall from the area where the switch will go. To ensure that the cable is not accidentally cut inside the wall, you should leave about 8 inches space between each stud. Next, mount the new switch using appropriate mounting brackets. After attaching the cables to the switch, you will need to secure it to the mounting plates. Once the switch has been fully installed, you will need to turn the power back on and test the newly added device to ensure it works properly.